Phone: 780 885 1450 | Email: mohamed@mbpainting.ca | Serving the Greater Edmonton Area
EDMONTON'S MOST TRUSTED PAINTING CONTRACTOR
We understand the function of paint as a wall covering that protects your walls and building structure and, just as well, as a decorative tool for boosting curb appeal. As one of the leading painting companies in Edmonton, we take immense pride in our role in shaping how our suburbs and city look.
OUR SERVICES
-
![]() Free Consultation →
Free Consultation →EXPERIENCED, DEPENDABLE HOME PAINTERS
-
![]() Free Consultation →
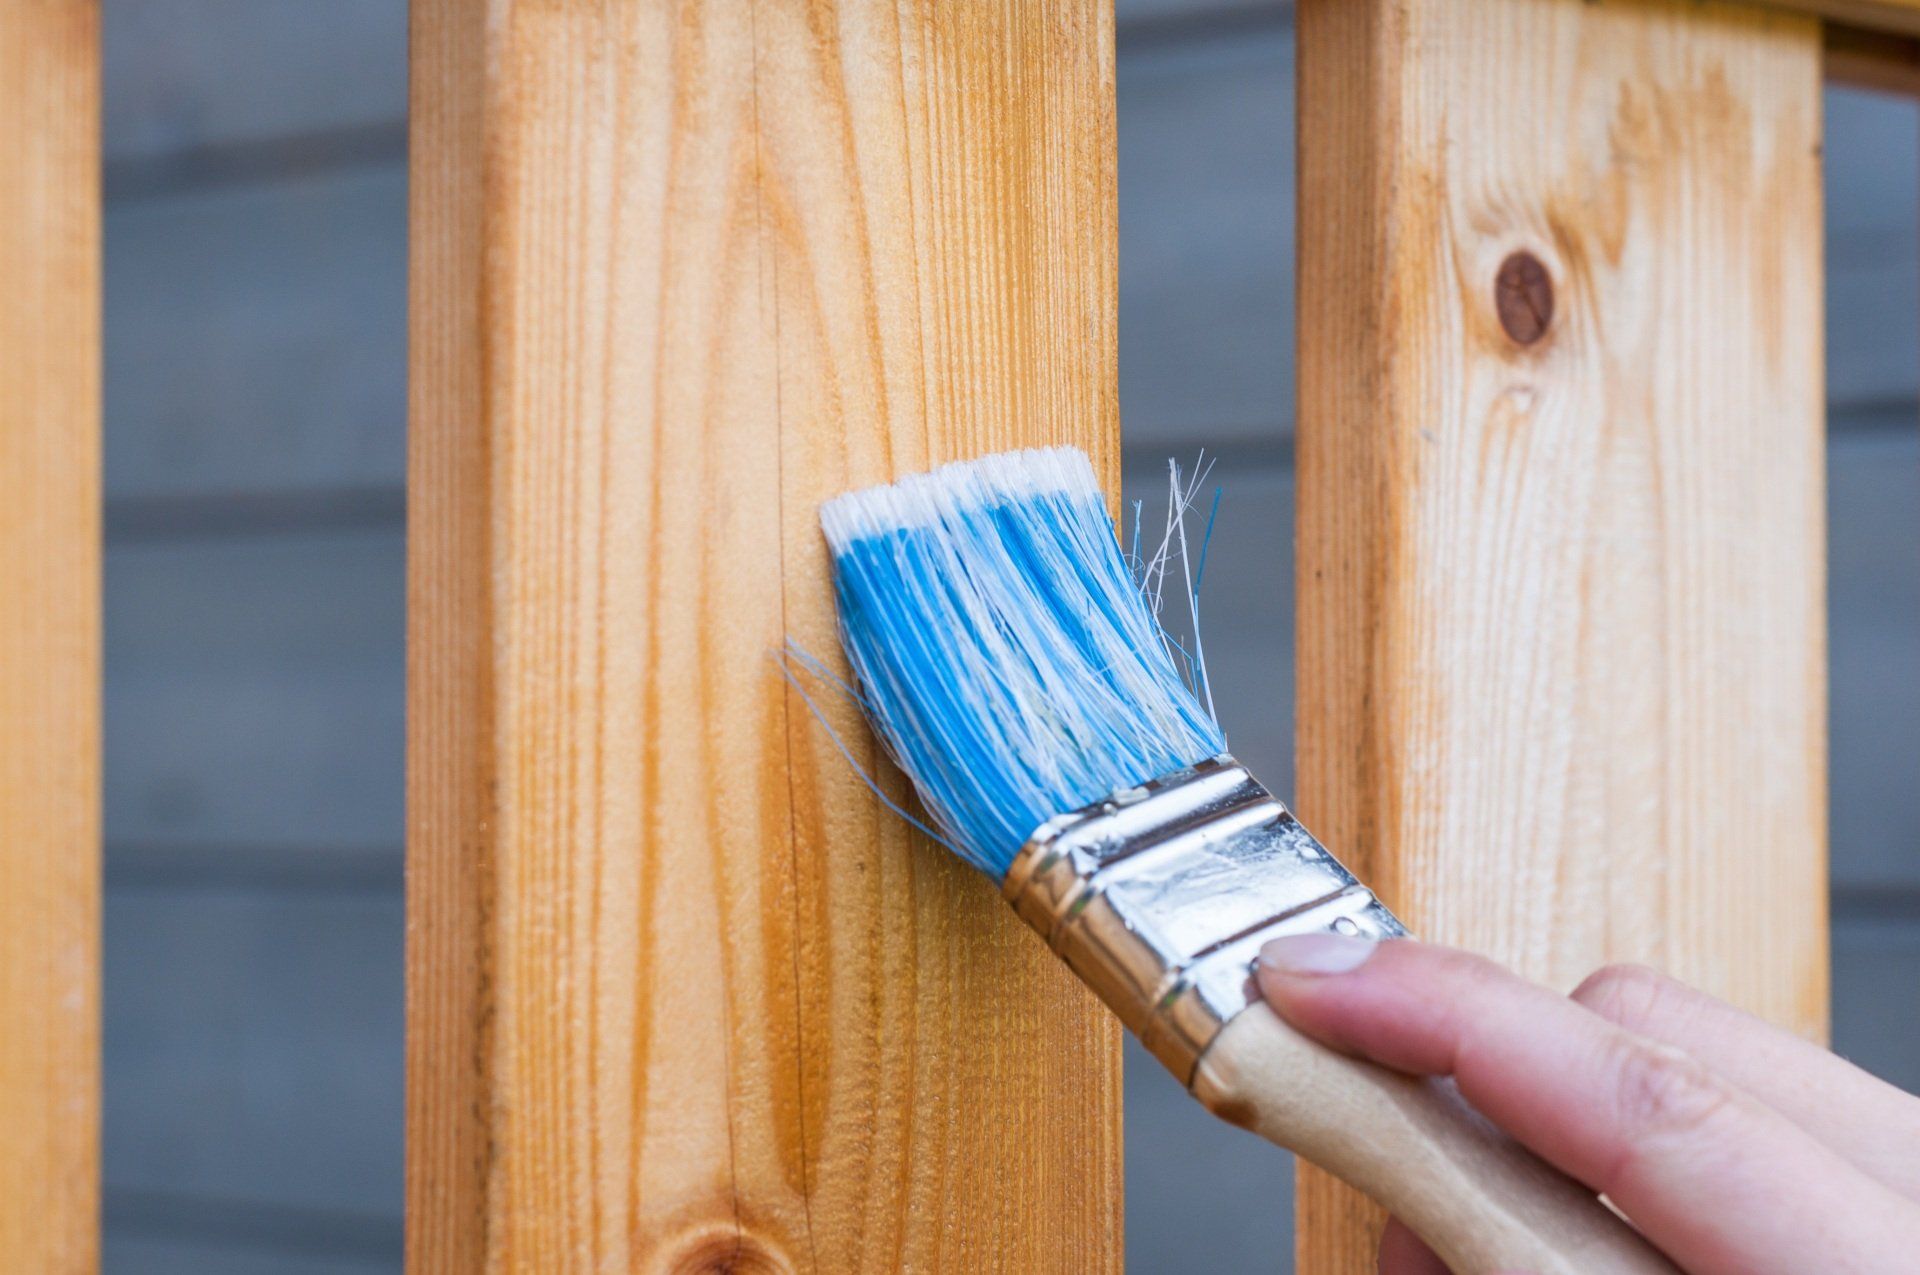
Free Consultation →STAINING AND LACQUERING SERVICES

LATEST NEWS

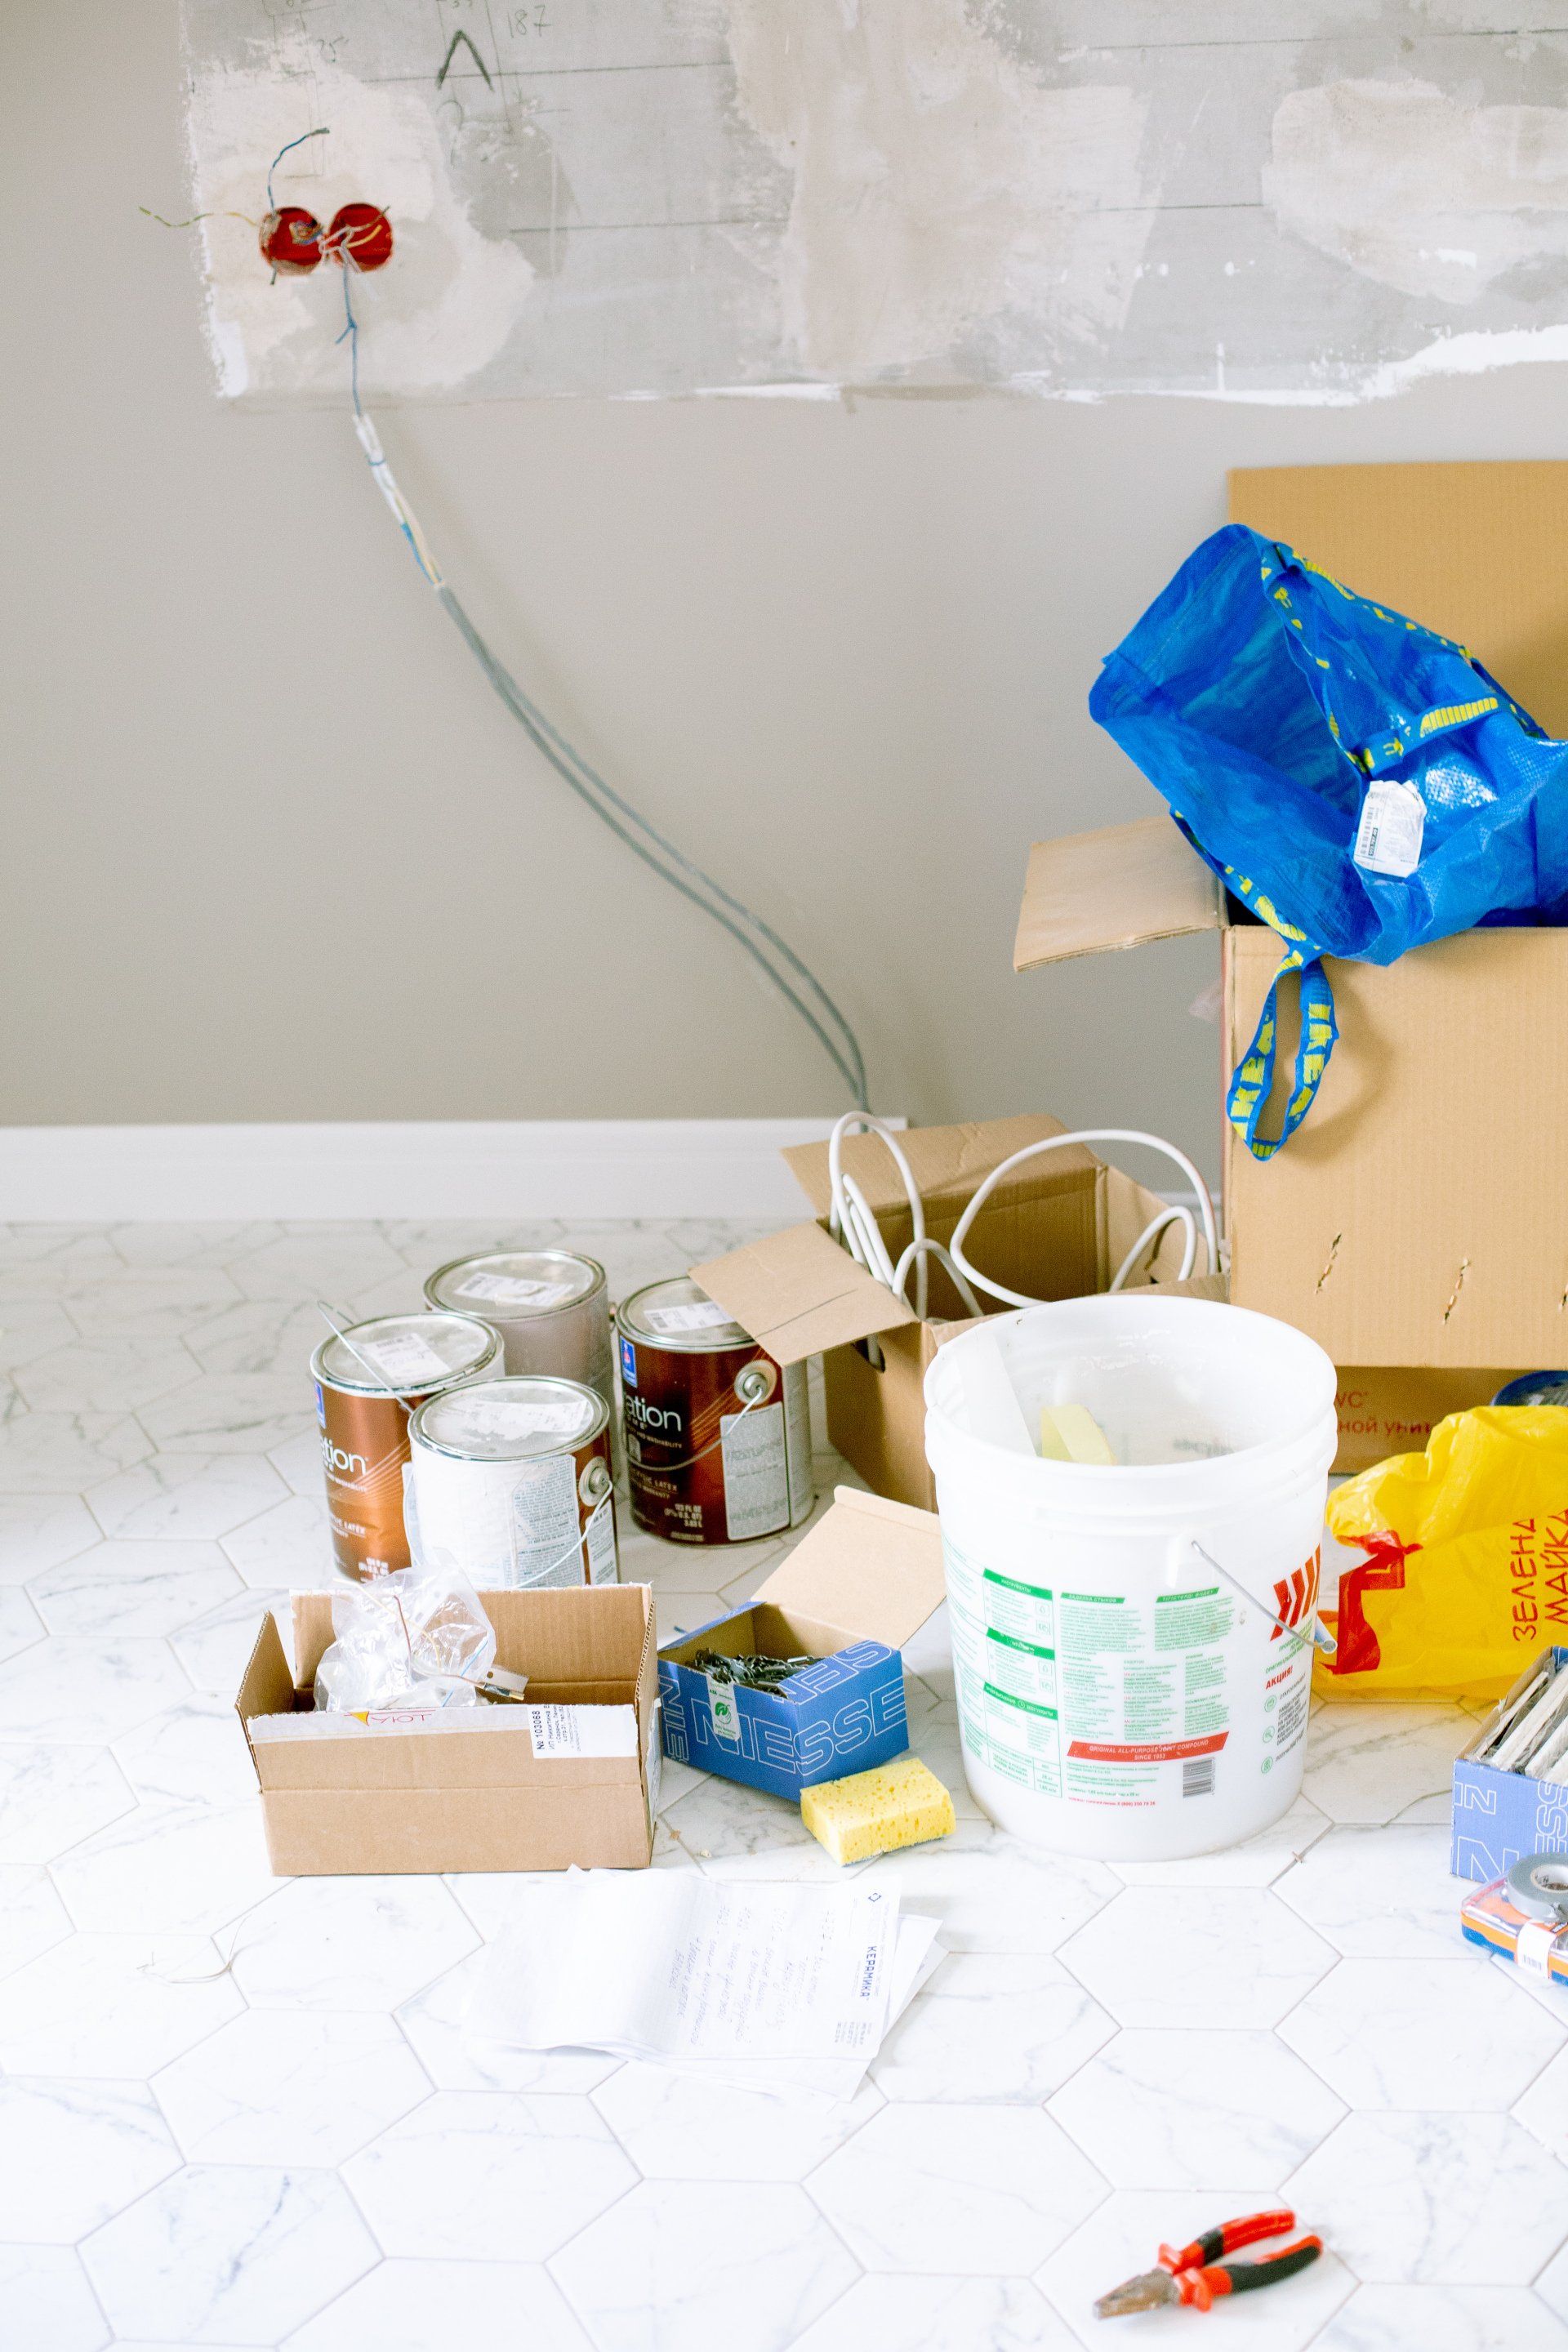
Repainting your interior walls is a low-cost home improvement option. It makes your home in Edmonton easy to clean, covers stains, removes unsightly marks, and generally makes your home cozier. But for how long? The consensus is to repaint your interior walls every three to five years. Some walls may need to be repainted sooner, though. The kitchen, for example, is one of the busiest rooms in the house. All that moisture, heat, smoke, and oily smudges on walls take their toll. If you have recently remodelled or repaired part of your house, you may also be forced to repaint your walls earlier than planned. Depending on your family’s lifestyle and the age of your children, your interior walls may also demand a refresh sooner than envisaged. How Do You Know It’s Time to Repaint Your Walls? We have already addressed the question of how often you should repaint your home’s exterior walls . Since interior walls work just as hard (or harder), it’s important they don’t go too long without a fresh coat of paint. But how do you know it’s time to repaint? A well-lived house has a certain charm. It also feels more inviting to guests. But not when it is cluttered and falling apart, with walls defaced by oily fingerprints and dents. Rooms that look stale and tired need an uplift for the home to look its best. As we have said, some rooms need more regular repainting than others. So let’s break this down by room. The Hallway and Stairwell The hallway and stairwell see a lot of traffic as people come and go, and go and up and down the stairs. As too often people can’t resist touching the walls, either for balance and as they bring in luggage and other stuff from outside, these areas of the house will show signs of wear and tear a lot sooner than the rest of the house. Contact with the wall is hard to avoid, especially in the hallway because it is such a narrow space. If the rest of the interior walls still look good, a fresh coat of paint on the hallway and stairwell walls will immediately enhance the space. Repainting these areas once every 2 to 4 years should keep them fairly blemish-free. The Living Room This is typically the room you spend most of your family time. It is more likely also the largest room in your home and one you want to look fresher than most as that’s where you host and entertain your guests as well. Living rooms are typically well-furnished, which minimizes any contact with the walls, so the paint survives longer than it does in other rooms. But if your area receives a lot of sunshine and you have large windows that you like to keep open during the day, there is going to be some sun bleaching to account for on your walls. Another factor you want to remember is the quality of paint you use for this room. If the paint has a more robust quality, it will not fade too quickly and, as a result, won’t need frequent repainting. A fresh coat of paint every 5 to 7 years is generally agreed to be a good repainting schedule for living rooms. The dining room may not see as much activity as the living room but the rooms are usually separated by an empty space, meaning the difference in freshness will be noticeable from either room. We would advise maintaining the same repainting schedule for both the living and dining rooms. The Kitchen The most important and likely the most frequented room in your home! Either preparing meals, grabbing a quick snack, or washing dishes, the kitchen is a hard room to stay out of. It is during the meal preparation time that the kitchen walls will suffer the heaviest toll. Steam from simmering meals, heat from the stove and oven, and all manner of messes from spilt dishes to sticky fingerprints will have your kitchen walls looking too ‘lived-in’ for your taste. Besides the not-so-fresh-looking walls, all that daily cooking means the kitchen will start to smell distinctively different from the rest of the house. That’s to be expected, but as the meal count grows the odour gets more pungent and harder to ignore. Aside from using more hard-wearing paint, you should look to repaint your kitchen walls more frequently than you do your living and dining rooms. Every three to four years is a good schedule to maintain. The Bathroom Moisture can do a lot of damage to paint. It can cause paint to bubble, flake, and peel, which is not the look you want for your bathrooms. Compared to the rest of Canada, Edmonton has a fairly dry climate. But as you can’t prevent heat in the kitchen, you can’t keep your bathroom completely dry all the time. And being a room that sees daily use, there is going to fairly noticeable stress on the walls not very long after you have repainted. You can avoid repainting your bathroom walls too frequently by keeping them dry. Ensuring there is enough outside air and sunlight filtering into the room will help. It will also prevent musty odours from building up. When repainting, which should be every three to four years, choose a specially formulated bathroom paint that can stand up to the wet conditions. Aim for the same repainting schedule for your laundry room, which is another room where moisture buildup is a concern. Bedrooms Private to every member of the family, bedrooms can seem detached from the rest of the house. There is also less pressure to update these rooms to look as fresh as possible. Adults typically spend less time in their bedrooms, so the wall paint doesn’t suffer as much abuse. It is a different story altogether for the younger members of the family. Children’s bedrooms too often also serve as auxiliary playrooms. So it’s not uncommon to find your toddler practising their drawing skills on their bedroom walls. Not sure about yours, but when most toddlers suddenly go quiet as if their attention has been taken by something, it usually means there is going to a mess to clean up. You may be forced to repaint your children’s bedroom every two or so years, but for the rest of the bedrooms, three to four years is a good schedule. For your children’s bedrooms, choose eggshell or satin sheen paints that make it easier to scrub down any wall art by your toddler. How Often You Should Repaint Your Ceilings? In terms of repainting frequency, ceilings are treated separately from the rest of the house. But you may also have to separate the ceilings by room as your kitchen ceiling is exposed to different conditions than your living room, for example. Other than the normal colour fading, you may be forced to repaint your ceilings sooner than expected to cover stains caused by leaky roofs. Save perhaps for the kitchen and bathrooms where you can paint the ceiling the same time you paint the walls, your ceilings can last for up to 10 years before it starts to yellow. As you repaint your interior walls, take particular care with the trim. The baseboards in high traffic areas like the hallway, stairwell, and kitchen take a lot of dings and dents. You will need to repaint them every two or so years to prevent the house from looking aged and beat up. Regular Interior Painting is a Cost-Effective Interior Design Tool The good thing about interior painting is you don’t have to paint the whole house at the same time. Sometimes it’s just the trim you need to touch up. This makes it a more approachable way to fresh up your Edmonton home and improve the ambience inside. To get a professional-looking finish and avoid messes that ruin your furniture and floors, you may be best served hiring a professional interior painting contractor. MB Painting is a trusted and experienced residential and commercial painting contractor in Edmonton, AB. Contact us here to discuss your next painting project.
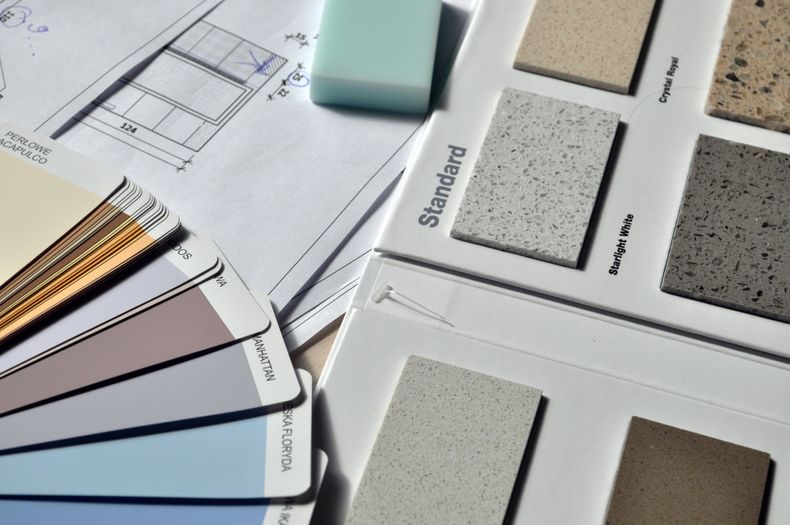
Painting is one of the easiest and cost-effective ways of bringing change to your house in Edmonton. Do you have a new color in mind or you simply want to give your interiors a fresh breath? The most challenging part is finding an experienced and reliable painter. You can do the painting yourself, but it’s always advisable to hire a professional painting contractor. There are multiple benefits of hiring a professional to get your job done. This article dives deeper into the benefits of hiring an interior painting contractor in Edmonton and the surrounding area. Professional Services that Guarantee Quality Results As much as any person can paint, there is much to the interior painting expertise than simply taking a brush and paint. The objective is not to modify the color of your house but to add value and improve its resale value. It doesn’t matter whether you plan to resell your property or not; you need quality and professional painting services. A professional interior painting contractor will offer you quality services and ensure your property is looking fantastic again. Minimal Stress Seeking the services of an interior painting contractor relieves procurement and supervision stress. Contractors plan well before embarking on any project. Most contractors have insurance and expertise to guarantee quality services. If anything goes wrong with the project, the contractor can make it right since they are insured. This gives you peace of mind to concentrate on your career or business. If you DIY, you may still want to hire a painting contractor later on to rectify the mistakes you made earlier. Thus, it is economical to hire a professional contractor and get your project done within the set time frame and without defects. Enhancing the Structural Stability of Your Property A commercial interior painting contractor can detect decay or rot in your property. Minor weaknesses can significantly affect your house in the long run. The contractor will conduct a thorough inspection and advise you to fix all structural defects before painting your house. Water vapors may enter the walls via structural flaws and cause molds to grow. Quality painting services can protect your house against water vapors. A painting contractor can further recommend reliable building constructors to fix the structural issues they can’t handle. Timely Completion An interior painting contractor comprises a professional team that will complete your project within the set time frame. Timely completion will allow you to do other things such as decorations, designs, and others. If you do it yourself, it may take several weeks to months to complete a simple task. You simply need to agree with your contractor about the project deadline. Some slight delays may arise from significant repairs like decay or if you have another ongoing home improvement project. Nonetheless, most painting contractors meet strict deadlines to allow homeowners to resume their everyday life. Familiar with New Patterns and Colors Hiring an interior painting contractor is a good opportunity to select new colors or patterns for your Edmonton home. The experience is amazing and brings a fresh breath to your old faded walls. An interior painting contractor can advise and recommend appropriate colors for your property. Most contractors have specialized in coloring schemes and low-cost alternatives. Contractors leverage back priming or back rolling appropriately since interior painting calls for craftsmanship. They also use high-quality paints that affect your house’s ability to withstand UV rays and extreme weather conditions. Safety Interior painting contractors invest heavily in training, modern tools, safety equipment, and certifications. This guarantees that they deliver their services cautiously and accident-free. They are equipped with drop cloths, ladders, painter’s tape, and bucket, and other crucial accessories for the work. MB Painting Contractor has a team of professional, reliable, and qualified painters who are CSCS certified. With more than 35 years of experience in the industry, we have the knowledge and technical prowess in handling any project size. Submit a request for a free quote with our contact us page to send us your painting requirements. We will respond to your request as soon as possible.
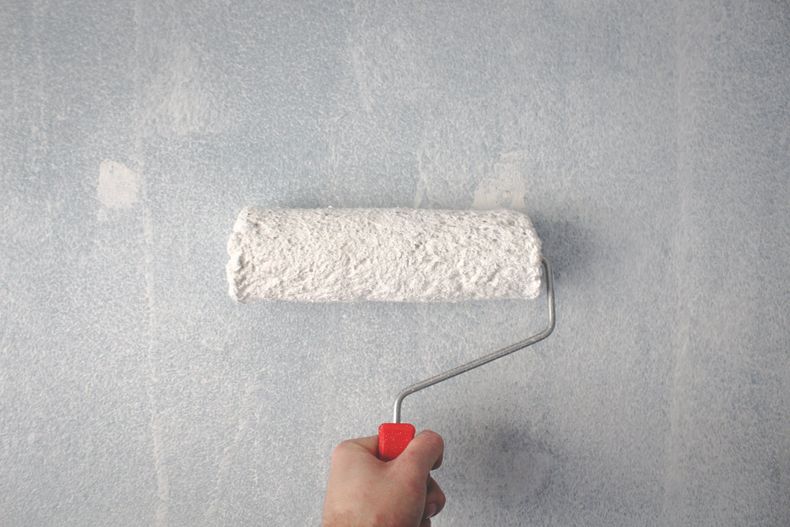
A fresh coat of paint can turn the oldest, soulless house from bleak to chic. But is the result as predictably pleasing when you do the painting yourself? Before you take it on, a DIY house painting job seems a very approachable project. And this year in particular, with finances being tight because of the Covid-19 pandemic, we are all looking for home improvement projects we can do ourselves to save money. What’s true, though, is that a DIY paint job is anything but easy. It is quite easy to get less than impressive results. But we are not about to let that happen. Call it a house painting contractors’ code, but we want every freshly painted house to look totally transformed, in the right way – whether it’s us or you doing the painting. To turn your DIY paint job from an okay result to ‘my friend from the book club really has to see this’, we have compiled the following professional painting tips and tricks: Tips and Tricks for a Professional- Looking To DIY House Painting Job 1. Choose the Right Paint Brushes A bad painter blames his brushes. Well, maybe that’s not the exact quote, but the meaning is the same. Any job starts with the right tools, without which the result is predictably poor, and the work itself ponderous. For a house painter, your tool of the trade is the paintbrush. A pro tip is to avoid the old brushes from your last paint job. As old paintbrushes are often worn and firm, they leave marks and troughs that will be hard to level out. Those brushes are also difficult to handle, which means your paint won’t spread as smoothly across the surface. The same applies for your roller brushes. Buy new ones, and make sure they have the right thickness. If too thin, the brush will not reach into crevices on rough plastered walls, which means generally poor paint coverage. Roller brush covers that are too thick will give you an exaggerated texture on smooth walls. Again that may not be the finish you are looking for. Be sure to invest in a good quality painter’s tape to make your cut lines straight. Also, get a good roller extension pole to make it easy to paint those tough-to-reach areas. The pole makes the job less strenuous on the body too. 2. Prepare Your Surfaces Well A professional painter’s job is already some way done by the time they start the actual painting. They know the end result relies heavily on a well-prepared surface, as a pre-primed heavy linen canvas is to an oil painting. If you are repainting an old house with flaky, peeling paint, you have got to remove that old paint first. Only after the surface is smooth to the touch should you move to the actual painting. As you may need to sand, fill holes and dints, and caulk, budget enough time for the prep. In older previously painted homes, prep can consume the bulk of the project time, and that’s OK because what matters is the end result. Even with all their experience, a pro painter will not discount the importance of tape. They will tightly tape off all the trim and baseboards. They know that painting is a messy job, that despite all the care you may take, there will always be paint that drips where it shouldn’t. 3. Invest in the Right Quality Paint Pro painters know what to look for in a ‘quality’ paint, which mostly isn’t the paint’s coverage. They will tell you most cheap paints cover well because they have higher chalk concentration than resin. Yet the resin is what makes a durable paint. The thing with paint is that the solvents, which help the paint to spread, will evaporate as the paint dries. The actual solids – the resins and pigment are what will remain. So if the paint is thin on resins, which is what binds the pigment particles together, that protective film that will remain on your wall after the paint dries is not going to be as tough and will chalk before long. As it is often hard for DIYers to tell good paint from the poor stuff from looking at it, choose the premium, more expensive paint as it will last the longest and give you a more pleasing finish. 4. Protect Floors and Furniture From Paint Spills and Splashes The messes are what separates truly professional, experienced painters from DIYers. Pro painters know paint will always drip and splash about. So they take their time covering all the furniture and floors, making sure to tape off window panels and where the floor meets the wall. Just know that it is easier to cover areas you don’t want to be painted than it is to clean off paint spills and splashes. 5. Choose the Right Weather to Paint In The weather affects how long your paint takes to dry between coats. Unless you have chosen quick-drying paints specifically because you envisage that the weather isn’t going to be warm enough, wait for a nice warm day that’s not too hot or windy to paint. You don’t want to be painting in direct sunlight where it’s so hot that the paint dries too fast. The idea behind how paint works is, to fully adhere, it needs time to soak into the substrate before it fully dries. If the paint dries before it has properly soaked in, the consequence is it will not adhere as well as it should. The effect is the same with windy conditions as that too leads to paint drying too fast. 6. Always Warm Your Paint Cold weather causes paint to thicken up and become more viscous, making it more difficult to work with. While some manufacturers supply paint that’s specially formulated for cold conditions, to be sure, always warm your paint before painting. The best way to warm your paint is to place the paint can in a basin of hot water. To make sure it warms evenly, stir the paint while it’s in the hot water bath. If the weather is particularly cold on paint day, it is a good idea to keep the paint can in hot water as you paint to keep it warm. In colder climates, higher relative humidity also tends to be an issue. To avoid the effects of painting over wet surfaces where moist air has condensed on the surface to be painted, aim to paint where the substrate temperature is 3 degrees Celsius above the dew point. Painting over surfaces where there is condensed moisture affects the paint’s ability to adhere. It also causes blistering and blooming when using solvent-based paints. With water-based paints, the wet surface will thin the paint, meaning you will not get as thick a coating as you had budgeted for. 7. Box Your Paint to Keep the Colour Consistent Boxing your paint simply means mixing all the paint into one container. You want to do this as the paint cans may be from different batches where the color and viscosity may be slightly off. Boxing your paint means you will have a consistent color right through your project. It also means the paint covers more consistently and that it gives you a more uniform finish. 8. Know Which Way to Paint From Finally, the paint meets the wall. This is the part you were looking forward to the most. Getting the best result requires getting the basics right, starting with the right way to paint, which is from top to bottom. Start with your edges, first by taping and sealing off the ceiling, door frames, and baseboards. Taking the corners first, slowly drag your brush across the taped line. These are the details you don’t want to rush, so patience is key here. Where you have taped paint lines, don’t wait until the paint has completely dried to take the tape off. Do so before the last coat has dried to avoid the risk of the paint peeling off with the tape. For the rest of the wall, make sure your rollers are saturated with paint but not to the point they are dripping. Having enough paint on the brush means you won’t have to apply too much pressure on your strokes. And don’t roll until the brush has no paint left as that tends to leave streaks and marks on the surface. If you follow the tips we have shared here, your DIY paint job should give you a result you will be very happy with, perhaps enough to turn a pro painter’s head. However, if this now all seem too much work than you had envisaged, it is best to let a professional residential painting contractor take on the job. MB Painting is a professional residential and commercial contractor painting contractor with a growing reputation in the city of Edmonton, AB. Contact us here to discuss your next painting project.